


How to Install 3D Wall Panels EPS System
2025-01-16
Transforming Construction Step-by-Step Guide to Installing 3D Wall Panels EPS System
Step 1: Prepare the Foundation Ensure that the foundation is ready and aligned, with rebar tied according to the structural engineer’s design. The rebar should be placed between the mesh and the panels to stabilize the walls. Don’t forget to add a moisture barrier layer beneath the walls.

Step 2: Install Panels at the Corners Begin by installing the panels at the corners to provide stability. Each panel must be straight and reflect the required design. Use mesh for connections between panels at the corners.
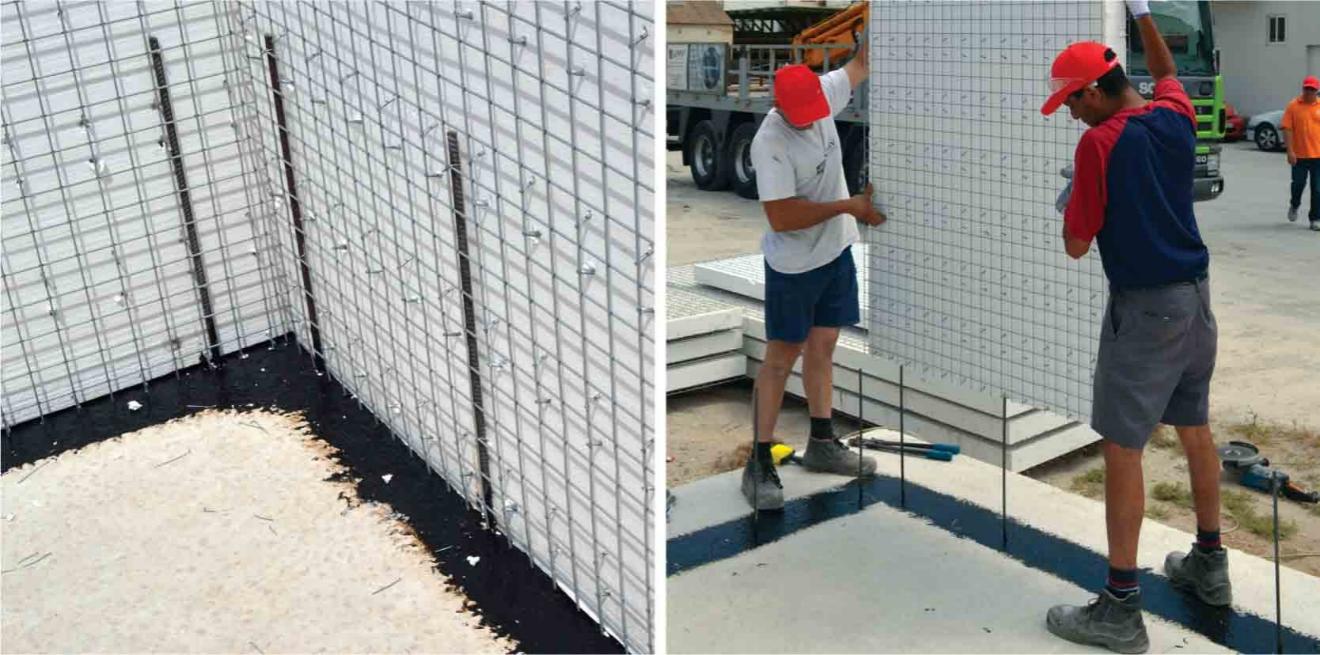
Step 3: Secure the Panels Once the corner panels are installed, attach the remaining panels. Use manual or pneumatic tools for installation, ensuring mesh is present on both sides for wall stability.
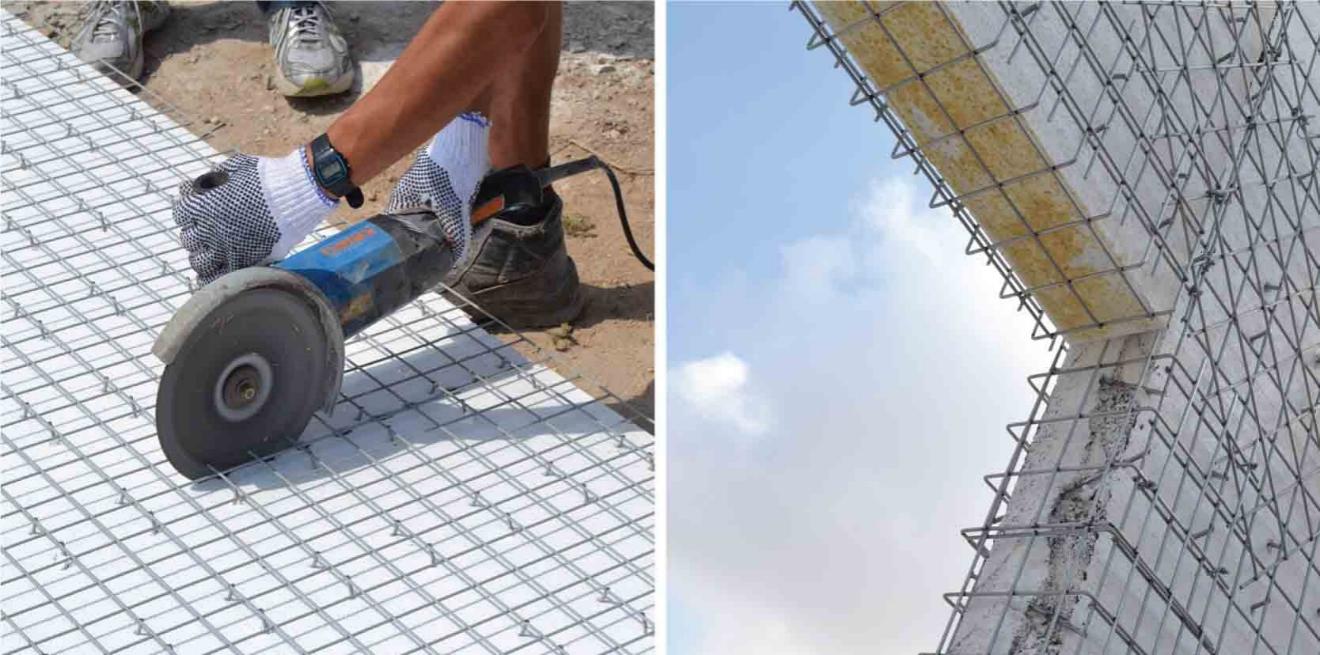
Step 4: Reinforce Panel Joints To strengthen the joints, use mesh bars at the corners and openings. Add reinforcements around doors and windows using pneumatic tools.

Step 5: Create Openings for Doors and Windows Cut the necessary openings for doors and windows on-site. Place reinforcing mesh at the corners and add rebar in larger areas to maintain strength. Any excess cuts can be utilized elsewhere.
Step 6: Install Temporary Supports Before placing the ceiling or panels, temporary supports are required. Use adjustable columns and braces to support the panels, ensuring they remain stable during concrete pouring.
Step 7: Raise Ceiling Panels Manually lift the ceiling or floor panels and place them on the walls. Add rebar at the base and supports, along with U-bars at critical points. This step is essential to ensure the ceiling is securely attached.

Step 8: Install Electrical and Plumbing Install electrical wiring and plumbing by passing them between the mesh and polystyrene. You may use a heat gun or torch to enlarge openings for easier installation.

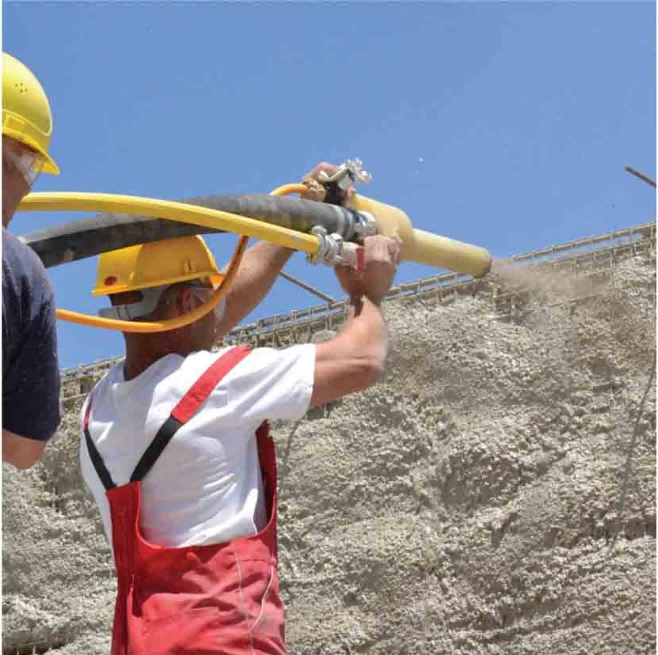
Step 9: Pour the First Layer of Concrete Start pouring the first layer of concrete onto the walls. Use guide points to ensure the concrete thickness is consistent. Aim for even coverage of the walls.

Step 10: Pour the Second Layer of Concrete and Smooth After the first layer dries, pour the second layer to achieve the desired thickness. Use a trowel to smooth the surface and eliminate any imperfections.
Step 11: Complete the Ceiling and Panels Once the concrete has cured, finish the ceiling or panels. Apply any necessary finishes and remove the temporary supports once the structure is stable.
Step 12: Final Finishes Finally, apply any internal or external finishes such as plaster, paint, or tiles according to the required design. Ensure all surfaces are sealed and protected against environmental factors.

Conclusion
In today's fast-paced construction environment, the 3D Wall Panels EPS system offers an innovative and efficient solution for building projects. By following these installation steps, contractors can achieve sturdy and reliable structures while saving time and resources. The integration of advanced technology and materials not only enhances construction quality but also ensures sustainability.
About Our Company
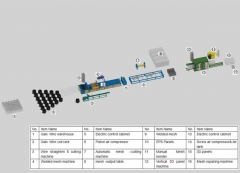
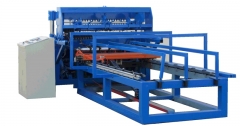
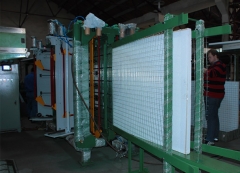
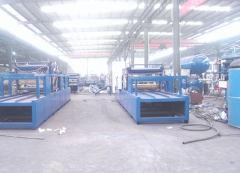
At Hebei Haosen Machinery Technology Co., Ltd., we provide comprehensive solutions for construction technology, including complete production lines for the 3D Wall Panels EPS system. Our goal is to support our clients by delivering high-quality products, comprehensive training, and ongoing assistance to ensure the success of their projects. For more information about our products, please visit https://www.hbhscn.com
PreviousComprehensive Guide to Insulated Concrete Forms (ICF)